|
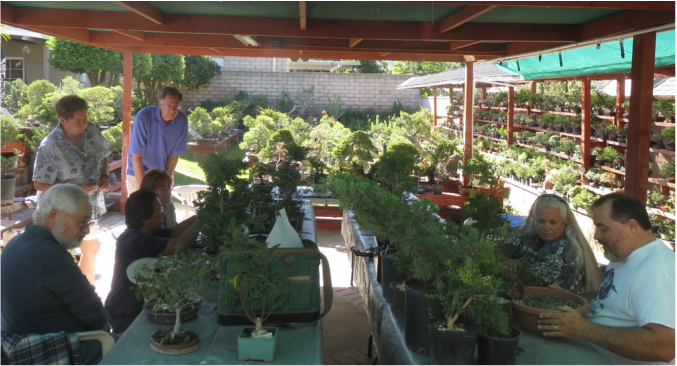
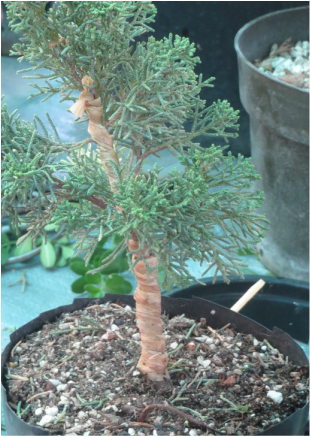
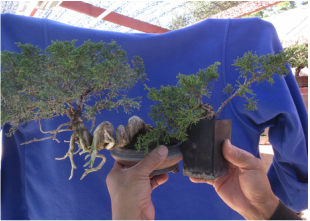
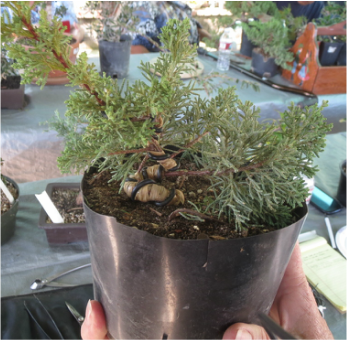
A group of shohin members went to Peter Macasieb's on November 14th. We worked on our shohin and a few small sized bonsai trees. Peter showed us how to create the beginnings of shohin "yamadori". See next photos. 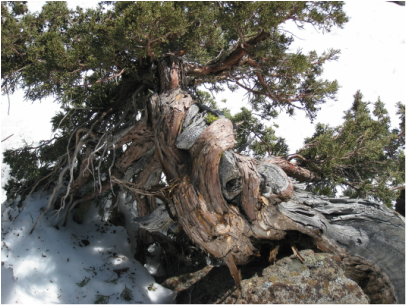 So, what is shohin yamadori? It is the same as any yamadori, a tree collected from the wild. One cannot find twisted pines and junipers that are shohin sized. Well at least they are very, very rare. A technique was created years ago to create the bending and twisting associated with the older, larger trees inorder to mimic trees that have been manipulated by nature for centuries. Peter has used and refined this technique and created many of his own. The big tree below is from Carson Pass at 8,000'+ in the Sierra's. This is what you find all of the time. This tree is about 4-5' tall and the trunk and exposed roots are about 8-9' long. A skosh big for a shohin pot. What appears to be roots growing down from the top of the tree are actually branches that took a header into the ground as the tree slowly fell over. Back to sea level. Before and after photos below. The tree was double wrapped with raffia. Then 3mm wire was pushed up through the bottom of the pot right next to the trunk. Enough wire remained out of the bottom of the pot to be able to bend it across the bottom and up the side about 1". This secures the wire. Then the trunk is wired clockwise. Using fingers and jin pliers, the tree is bent and twisted clockwise to help tighten the wire. While twisting and bending, you also need to be pushing down to help tighten the "coils" being created. This shortens the tree considerably. There are refine movements within the technique which need to be shown. A written description is toooooooo long. The process below took experienced hands about 10-15 minutes.
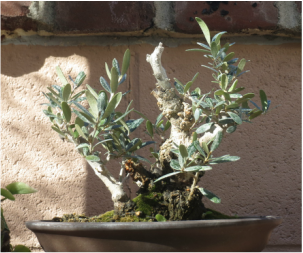
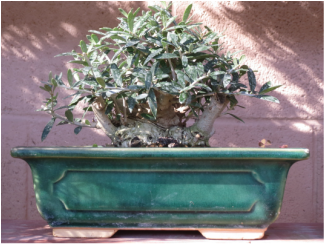
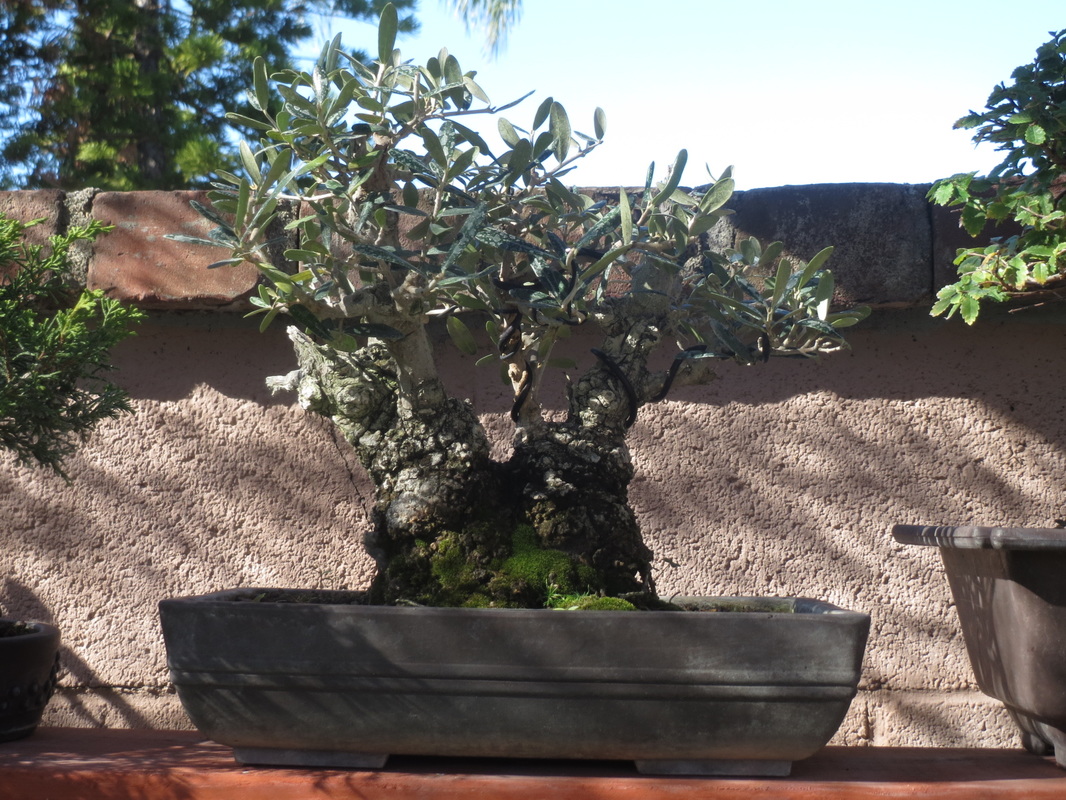
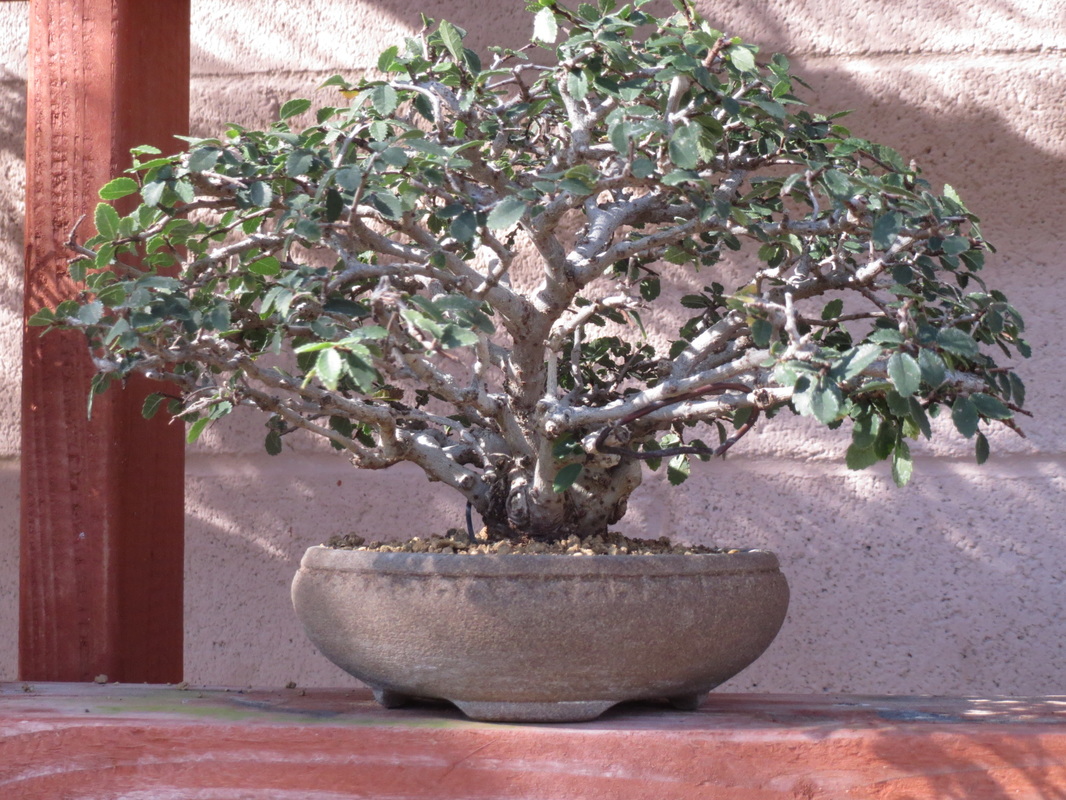
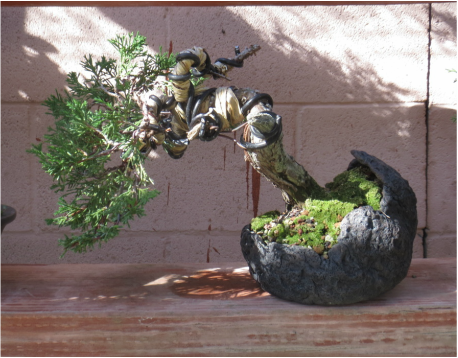 This is a another Shimpaku created by Peter. This technique reduces the size of the trees. Sometimes the highly twisted areas are eventually hidden by foliage, and if the areas are twisted tightly enough, the twists will grow together creating a larger trunk. Again, this is a technique that is better shown than described. There is more to the technique than what is described here. Below is an Olive sequence but you have to use some imagination since they are different trees, yet are similar. Top left: Scruffy with good bud breaks. Top right: More developed. Cutting back new shoots also causes more back budding. It is getting very bushy and strong. Bottom left: Main branches have been selected and others pruned out. Branches wired and cut for ramification. Not a good photo. Lacking good background. Sorry. Bottom right: A few years of training. Main branches allowed to extend a bit and cut for more ramification. Tree is opened up by thinning and wiring, and is now showing a little of age. This tree could be displayed at our show and it did not take that long to create. The Bonsai Tonight web site has a nice photo sequence for the early development of a Coast Redwood. Then below that are photos of Gordon Deeg's shohin and bonsai. Click on any of the photos in the "New Growth on Redwood Bonsai" sequence and you will get nice, larger photos that you can scroll through. The same for the "Coast Redwood Branch Refinement" and the Shohin/Bonsai Garden photos. The detail is very clear.
http://bonsaitonight.com/
0 Comments
Leave a Reply. |
Shohin Study GroupUpcoming Schedule
AuthorSDBC member Charlie Mosse lets you know of interesting bonsai posts from around the web but especially shohin topics as he is leading the shohin group. Shohin Racks & Stands
Archives
February 2019
Categories |
||||||||||||||||||||
- Home
- Activities
- Education
-
Resources
- Newsletter
- Seasonal Task Schedule >
- Club Forms
- Club Library
- Vendors
-
Photos
>
- 2020 Winter Silhouettes
- 2018 Fall Show
- 2018 SD County Fair
- Spring 2018 Show
- 2018 Cal Shohin Seminar
- GSBF Convention #40
- 2017 Fall Show
- 2017 Spring Show
- 2016 Fall Show
- 2016 Nisei Week Trip
- 2016 Spring Show
- 2016 Bonsai-A-Thon
- 2016 Winter Silhouettes
- 2015 Fall Show Photos
- 2015 Nisei Week Trip
- Bonsai Stolen from San Gabriel Nursery
- 2015 Spring Show
- 2015 Bonsai-A-Thon
- 2014 Fall Show
- 2014 Nisei Week Trip
- 2014 July Bus Trip
- 2014 Spring Show
- Articles >
- Video >
- Membership
- Safari Park Bonsai Pavilion
- Looking Back
- About
- Contact
|
Updated: July 2, 2024
All images © 2010-2023. All Rights Reserved. |
|
- Home
- Activities
- Education
-
Resources
- Newsletter
- Seasonal Task Schedule >
- Club Forms
- Club Library
- Vendors
-
Photos
>
- 2020 Winter Silhouettes
- 2018 Fall Show
- 2018 SD County Fair
- Spring 2018 Show
- 2018 Cal Shohin Seminar
- GSBF Convention #40
- 2017 Fall Show
- 2017 Spring Show
- 2016 Fall Show
- 2016 Nisei Week Trip
- 2016 Spring Show
- 2016 Bonsai-A-Thon
- 2016 Winter Silhouettes
- 2015 Fall Show Photos
- 2015 Nisei Week Trip
- Bonsai Stolen from San Gabriel Nursery
- 2015 Spring Show
- 2015 Bonsai-A-Thon
- 2014 Fall Show
- 2014 Nisei Week Trip
- 2014 July Bus Trip
- 2014 Spring Show
- Articles >
- Video >
- Membership
- Safari Park Bonsai Pavilion
- Looking Back
- About
- Contact

 RSS Feed