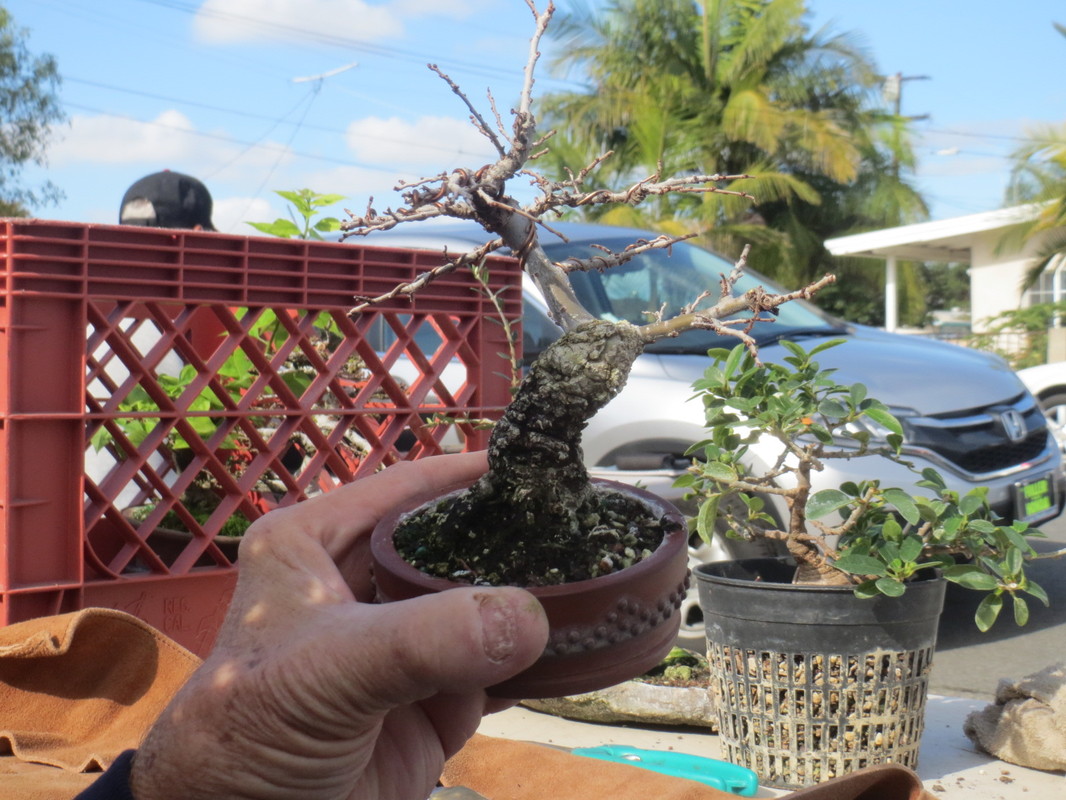
Pick a front.
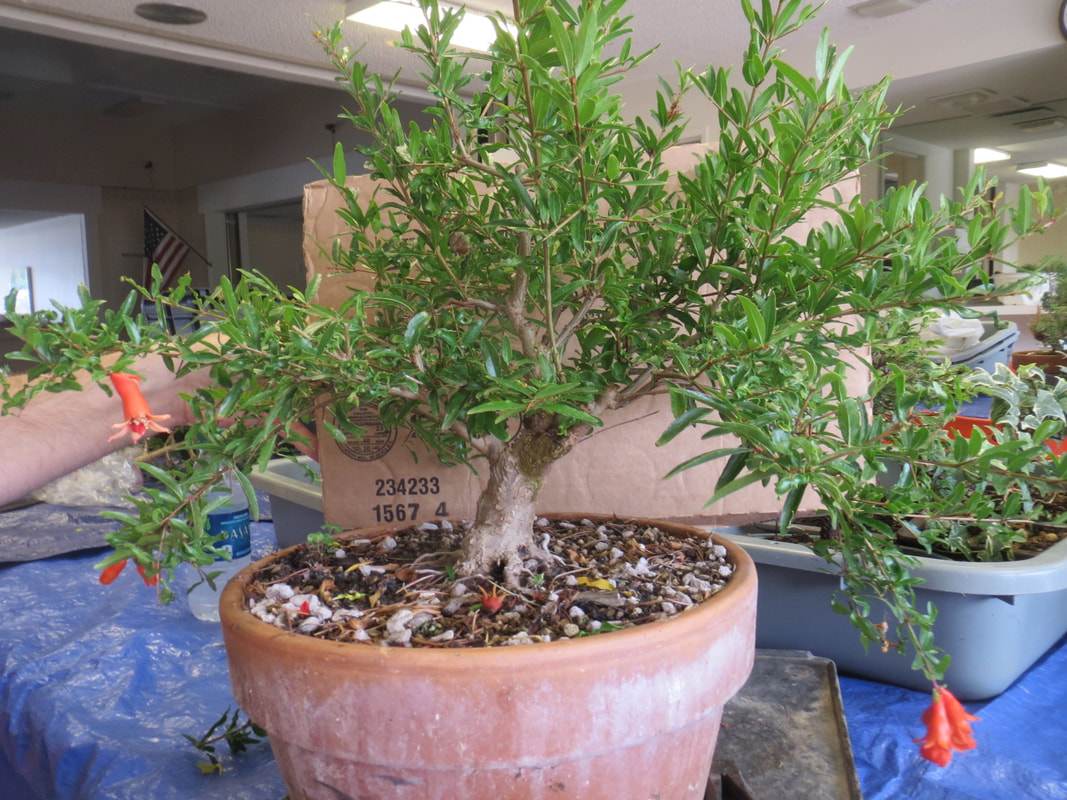
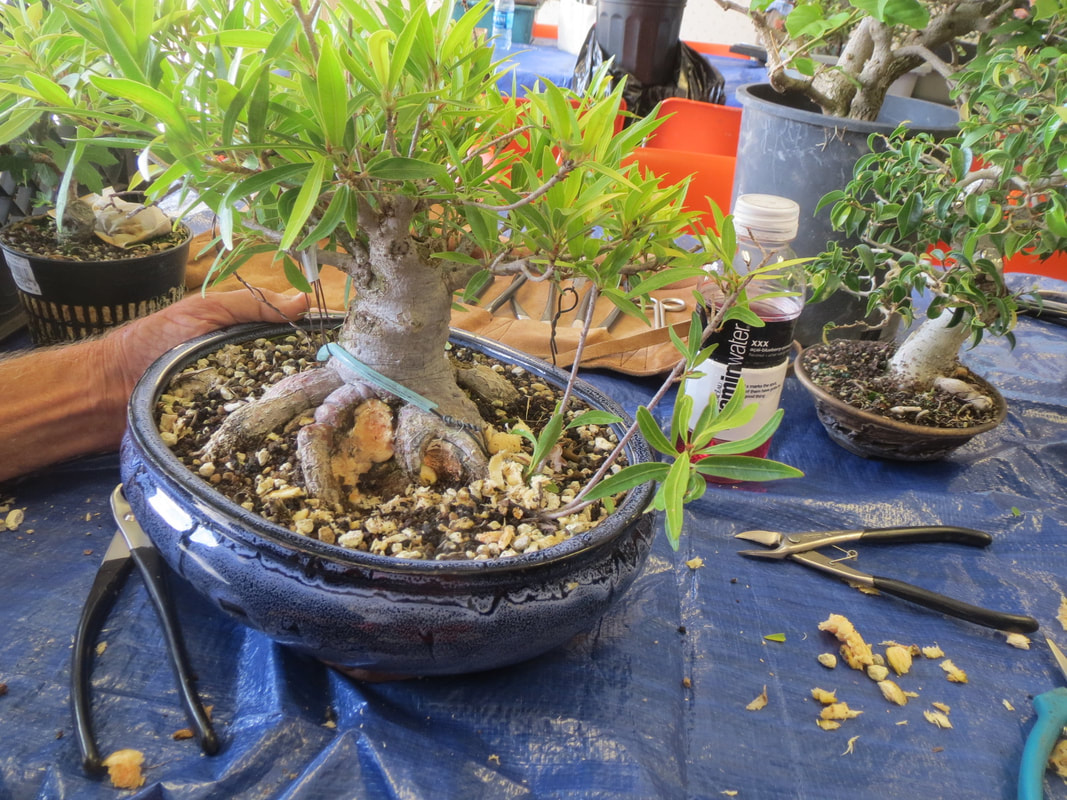
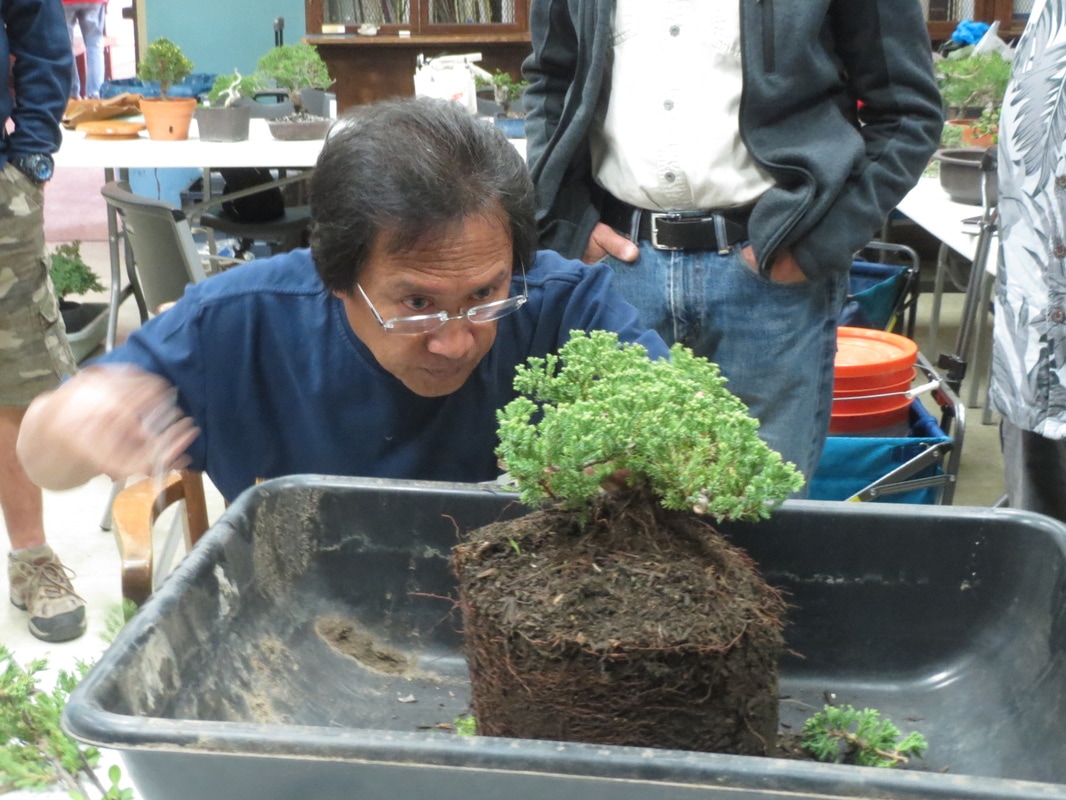
Eric has been growing this Pomegranite in this big pot to fatten the trunk and nebari. Now he starts working on setting the main branches.
I missed the real before photo but you can see in the photo on the left that a large root was cut out. Yes it was an ugly "big toe" that came straight out and then went into the soil. In the photo on the right you can see how big it was. A smaller root nub to the right was also removed. This is the time of year for removing big roots. Work done by John Jackson with some cutting tools and a small wood working chisel.
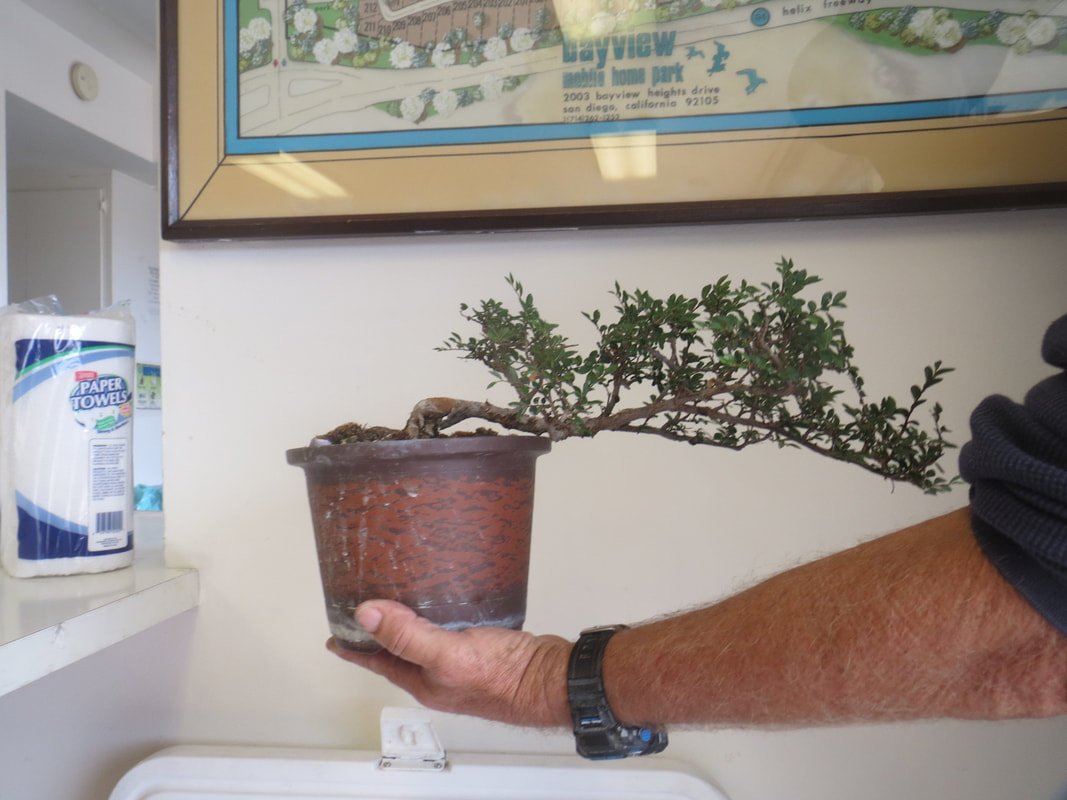
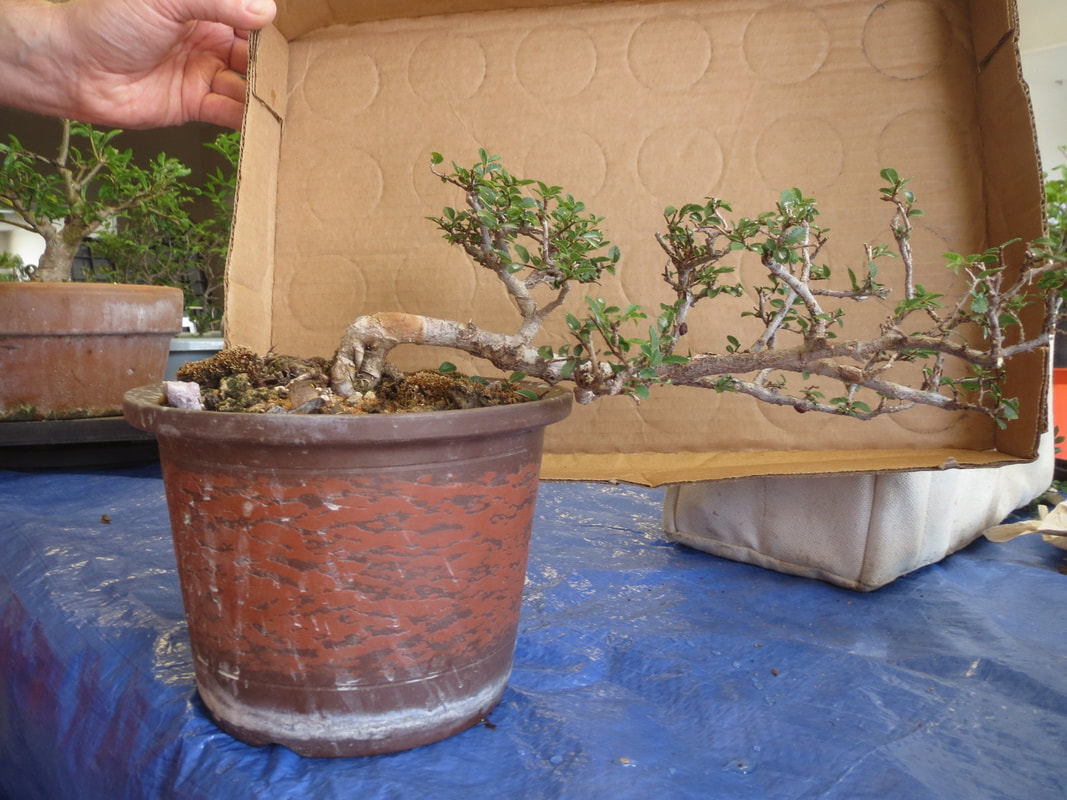
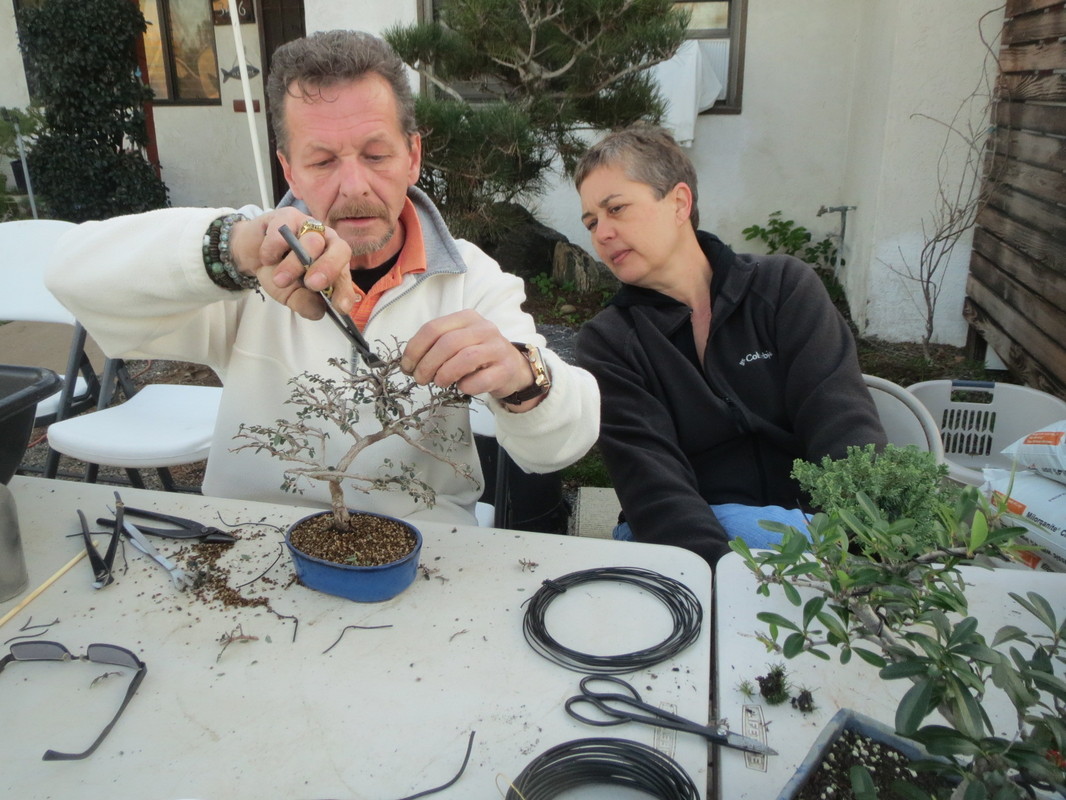
Gibbie's semi-cascade Elm got trimmed. Wire is next when he gets home.  Abe contemplating his Ficus. He will probably remove the Tootsie roll in the front.
0 Comments
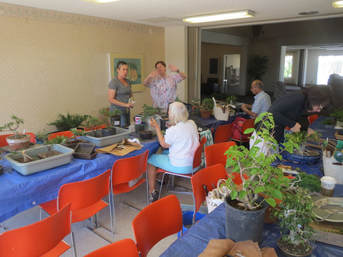
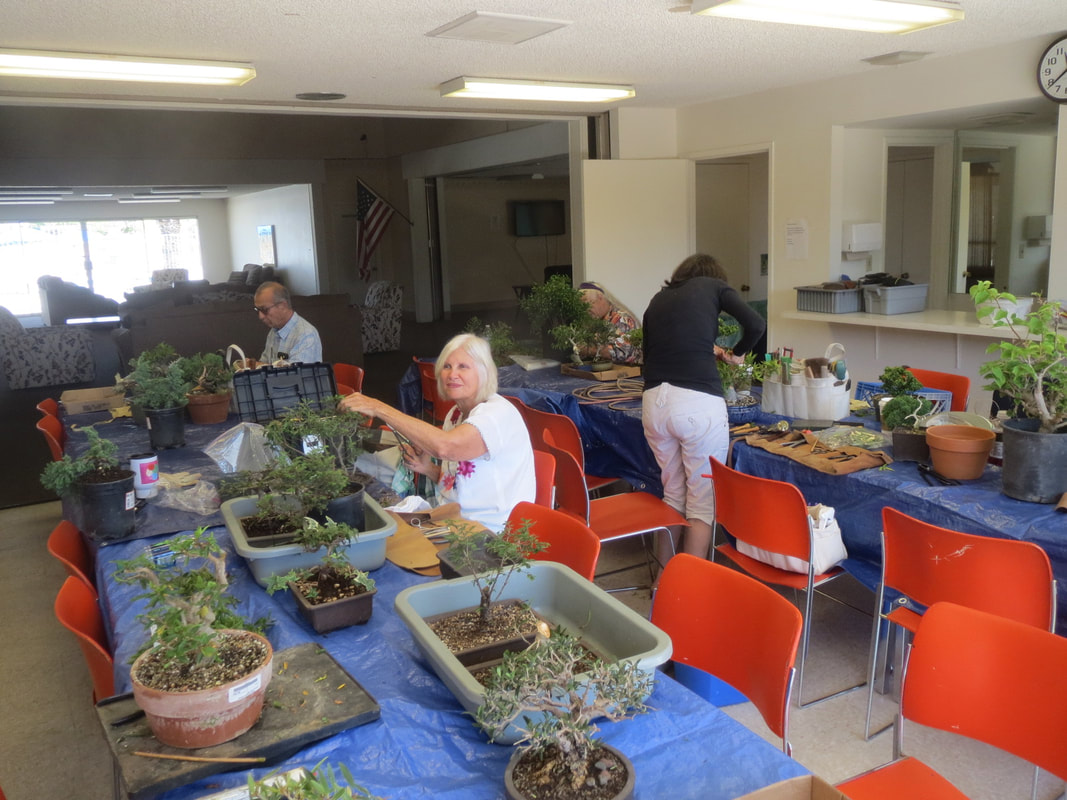
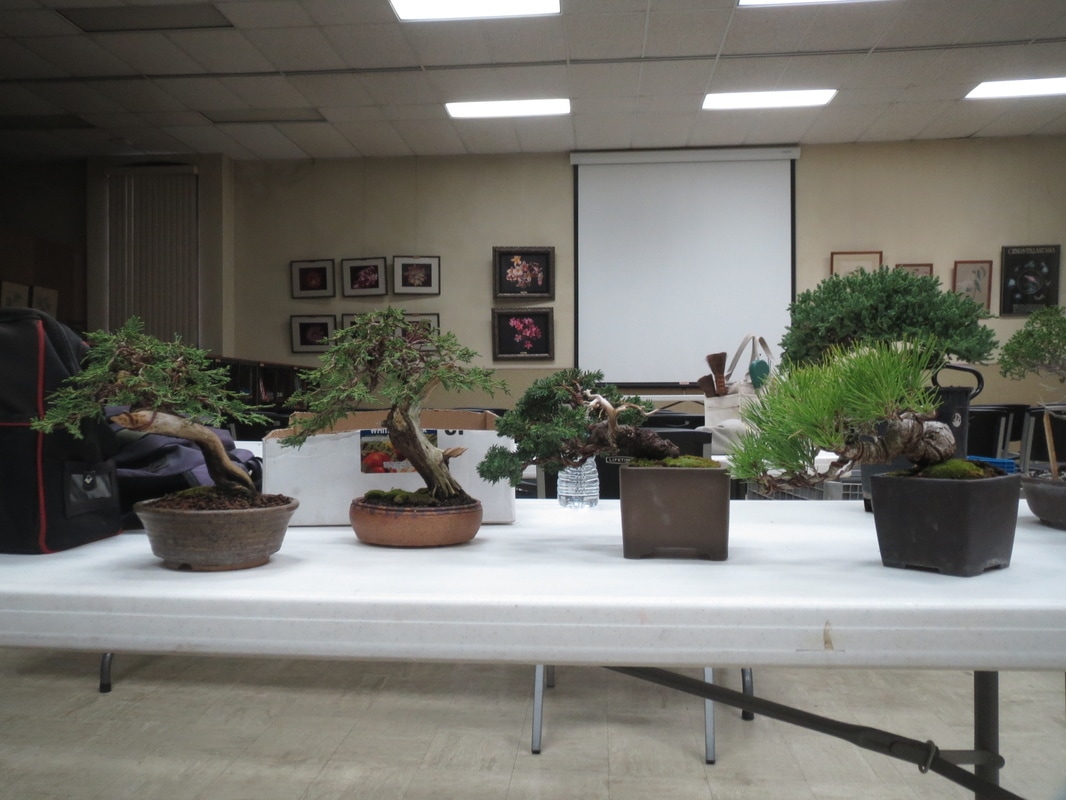
Sorry for the delay, but yes we did have a very good work session in August. We had 12 members present working on their show trees but mostly on bringing other trees along and starting some new ones to keep the pipeline full of progressing trees.
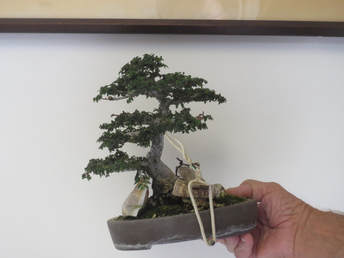
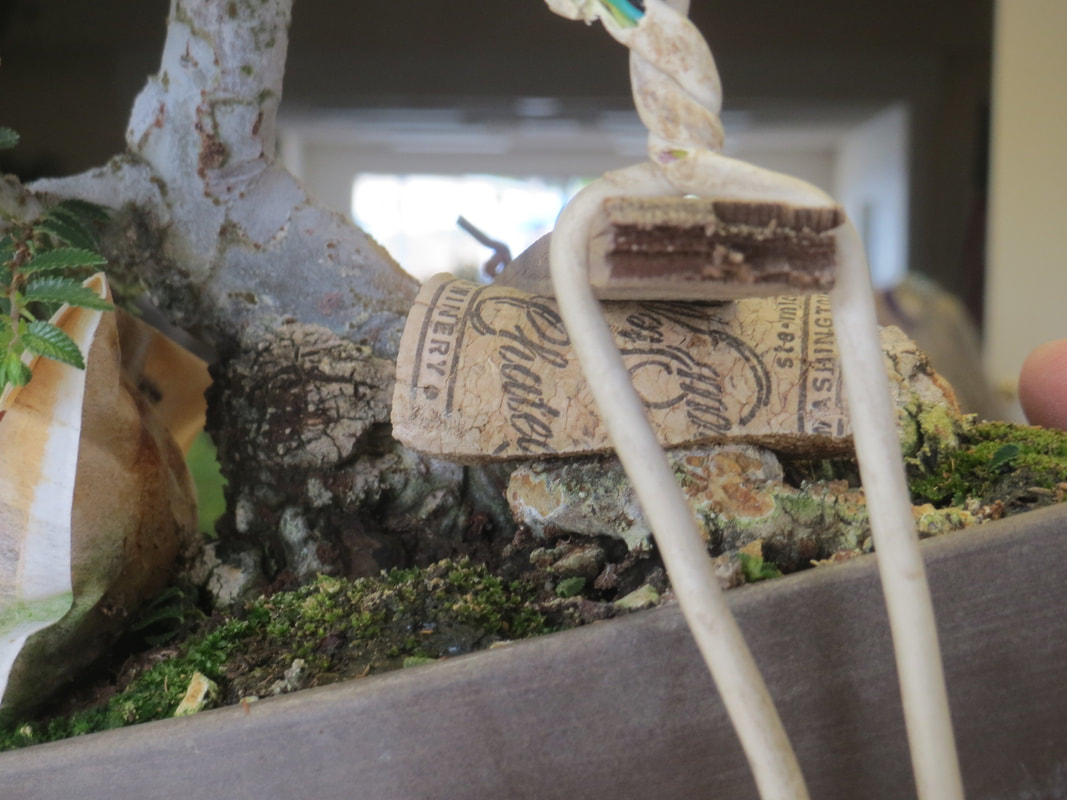
Here is a nifty way to push roots into the soil or at least push them down closer to the soil surface to reduce the visual impact if they are too much in your face. This issue does distract from the tree. You see 4 things to accomplish this. First are the stick(s) used as a stiff object which the pull down wire is attached to. In this case John used 3-1/8" sticks and used a piece of wire to hold them together. The wine cork was cut in half length-wise and is used as the soft but firm object which is pressed against the root. For the hold down wire used to create the downward pressure on the sticks and corks, John used some a piece of insulated solid copper wire. As is seen in the photo, the wire is run under the pot and wired at each end. The ends are twisted creating the downward pressure. this allows the pressure to be increased over time as the root is pressed into the soil. As the roots harden they will stay lower in the soil.
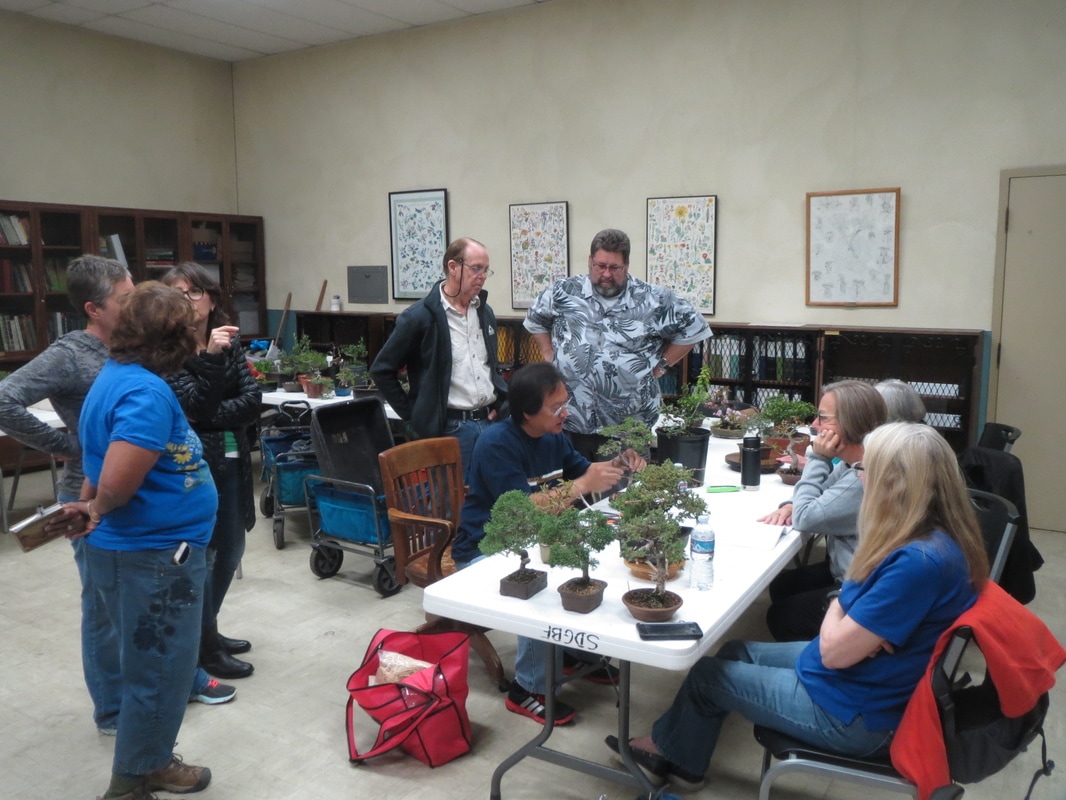
There were 8 of us in attendance. No major work was done, just keeping trees in shape, working on trees that will be used later in a year or 2 or 3 and getting advice on repotting and tree placement. John Jackson helped us with questions and worked on his own shohin. Where's Waldo? He is taking the picture. Thanks Eric. Peter Mac will be here on the July 16th. That will be a longer, heavy duty day. Looking forward to it. 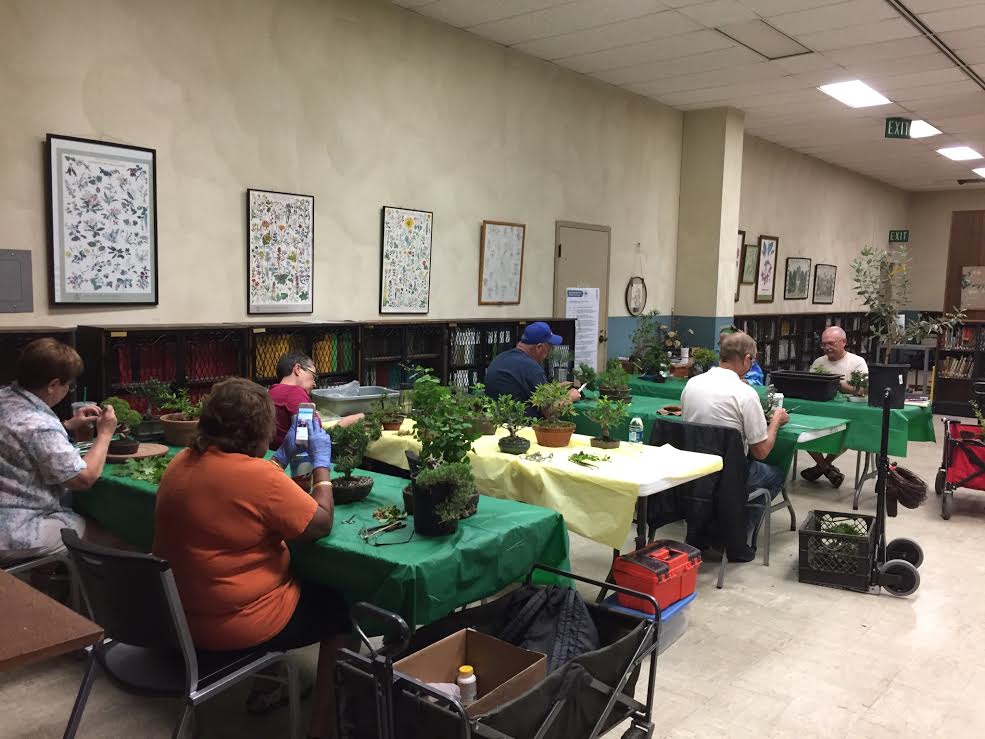 We had 10 of the group in attendance. Peter evaluated about 50 trees. Looks like we have about 15-20 candidates for the 2018 Seminar. We still have 6 members who have trees to be evaluated. With all members involved we should have enough trees to make 1-2 complete displays at the 2018 Seminar.
We got a lot done toward selecting trees for the 2018 Shohin Seminar such that Peter will not be down on the 19th.
His next visit will be in July. Our next meeting will be on April 9th after the general meeting to work on our displays/select trees for the Spring Show. Photos are coming of the March meeting. Peter Macasieb is coming on the 5th and the 19th. Tree selections selections will be made for focsing on for the 2018
California Shohin Semniar. When those are chosen, then trees for future dates will be chosen and workmbegins on all. Focus is on display trees and also on keeping trees in the pipeline. If a member does notmhave a tree that can be ready for the 2018 Seminar, no problem. They get help too. More of the monthly meeting dates will be posted after Sunday's work session. Two displays. Excellent trees.
https://bonsaitonight.com/2017/02/07/shohin-displays-bibs-18th-annual-exhibit/ I had a good conservation with Peter Macasieb. He is onboard with us. Nancy will be sending out an email of the details and schedule for the year.
The root stand workshop was terrific. Although it was open to all members, many of us intrepid shohiners participated. Sean Smith did a great job guiding us along and with a terrific sense of humor.
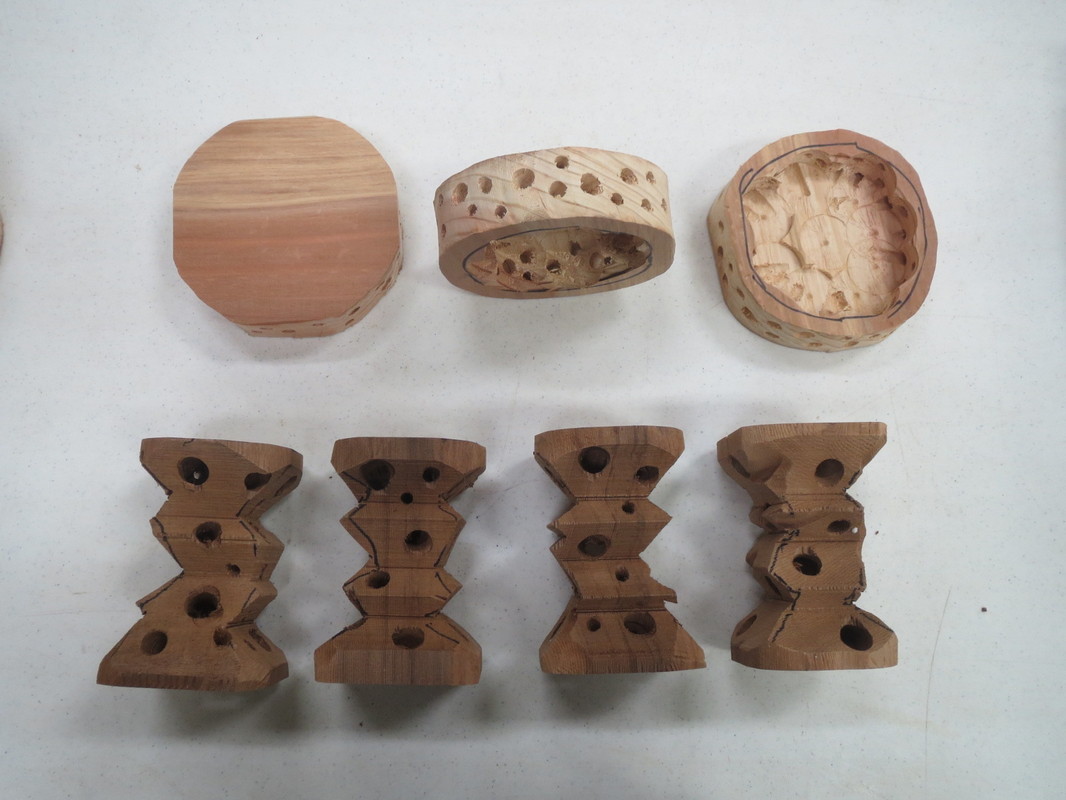
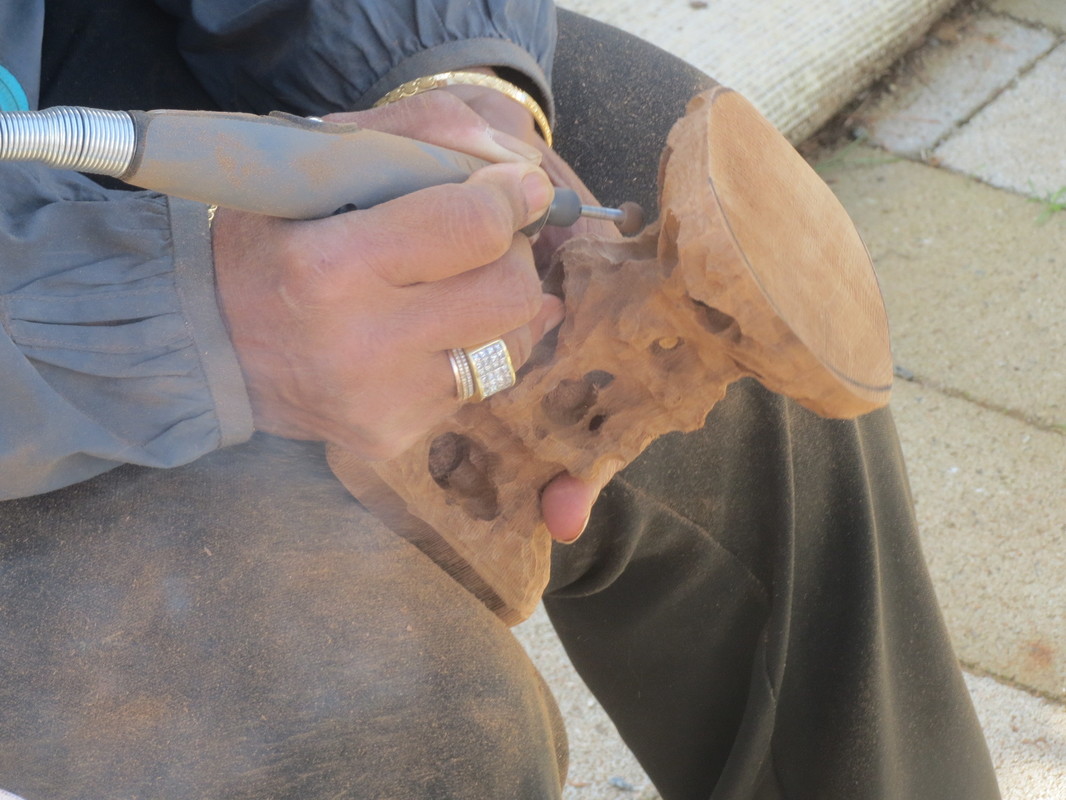
Sean Smith and his class. Starting point with pre-drilled blanks by Sean. He used 1/4", 3/8", and 1/2" drill bits for the side holes and a Forstner bit for boring out the insides of the thin blank. A router can also be used.
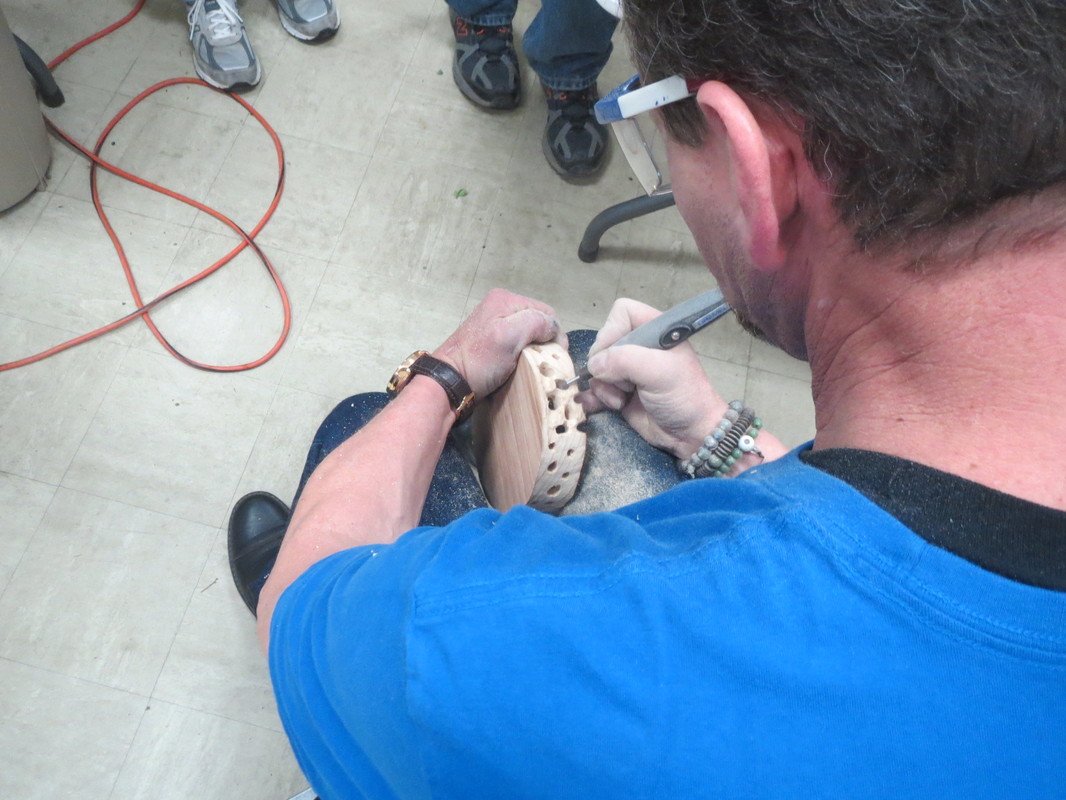
Sean is using a Dremel with a 3/8" carbide burr bit. The knees are useful "tool". Part way through the process.
John showing how dusty it is with this project. Jaya working on her stand with Dremel and 3/8" carbide burr bit. 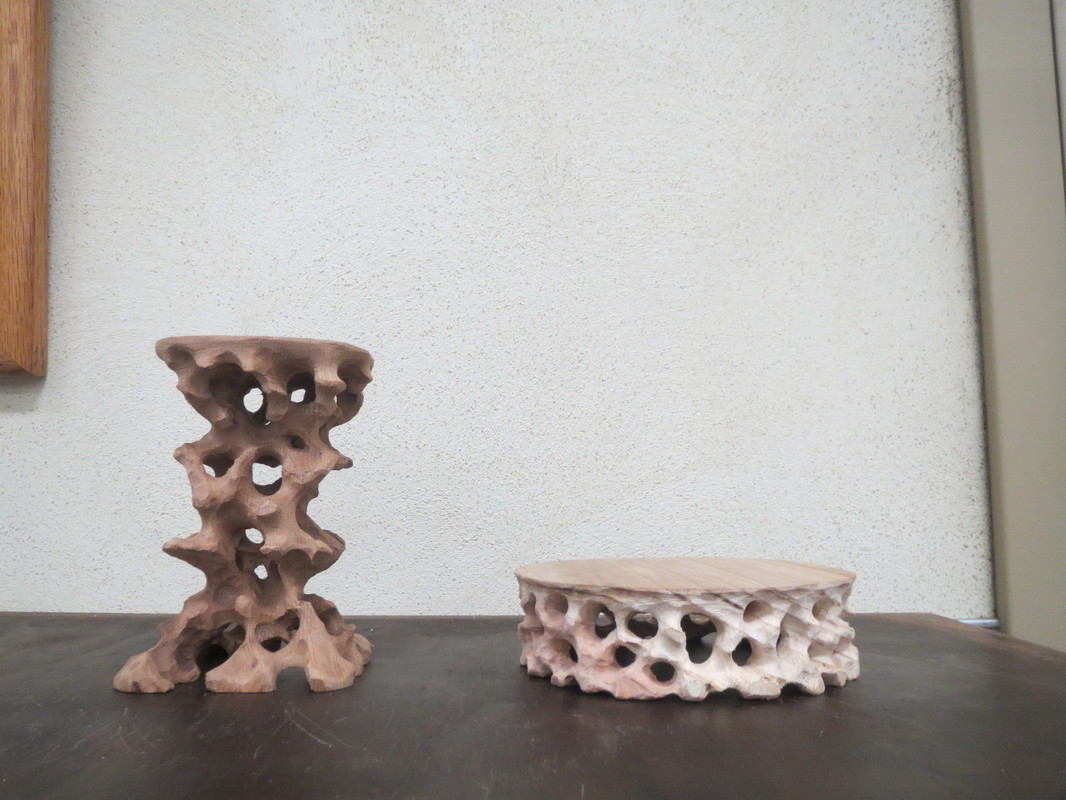
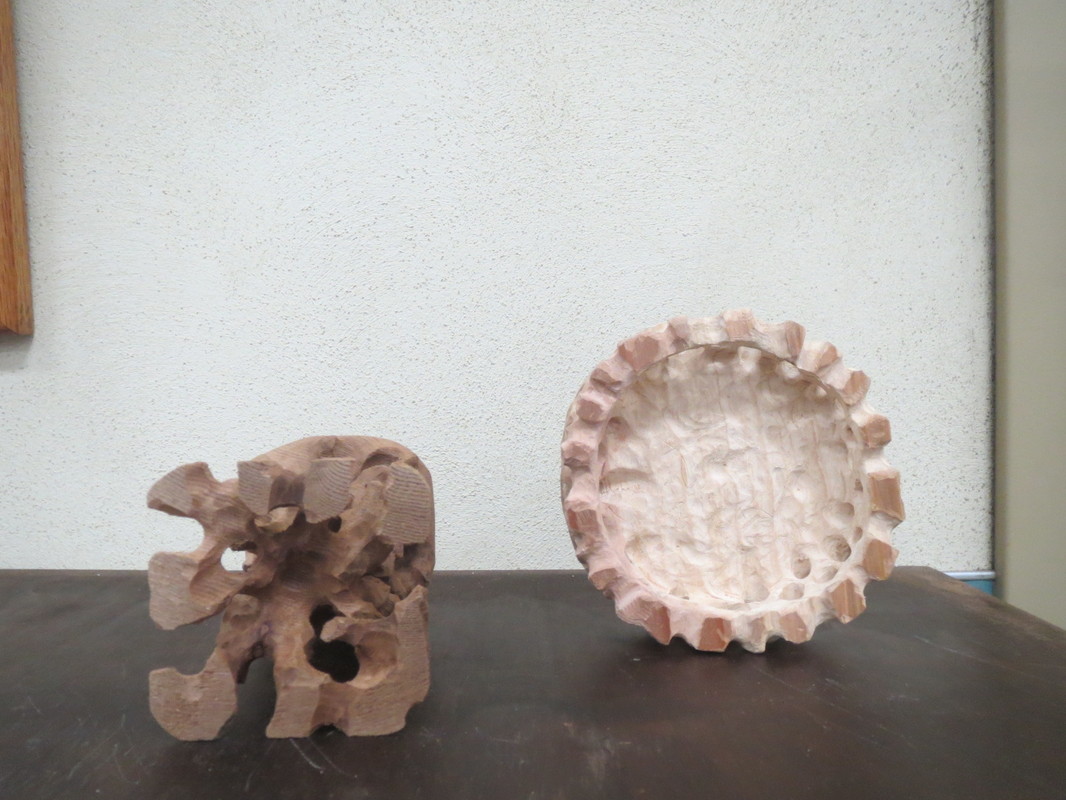
Rough finish of the stands. The "root" part of the stands could be further carved to create a balance of smaller and larger roots. Once the carving is done, then the sanding of the roots begins with 120 grit, then 180 grit*. You can continue with finer grits like 220 and then 320 if you want a very smooth surface. The shape of the top can be sanded into a circle, rounded a bit more, or left as is. Then the top is sanded to whatever grade you want. *FYI - The finer the grit the less the stain will penetrate or the longer it takes for it to penetrate since the finer sanding closes off the grain more. A good combo of smoothness and penetration is using 180 or 220. After the stain and finish are applied then you can smooth the surface of the finish before you apply the final coatings of clear finish. These stands will not be used rigorously but still must be handles carefully. Sean recommended Deft clear finish. It is a lacquer finish so it dries very fast and therefore will not accumulate little dust nibs nearly as much as a slower drying finish like Urethane. However, urethane is a harder finish, more water and scratch resistant but lacquer is easier to sand and repair. Now for the shohin part. We had a shohin work day at Fred's the day after the root stand workshop. Sean Smith is also an excellent bonsaiist. We kept him busy.
Sean working with Brenda refining her tree. John working on an Elm
Shirley working on several trees. Another Elm by John.
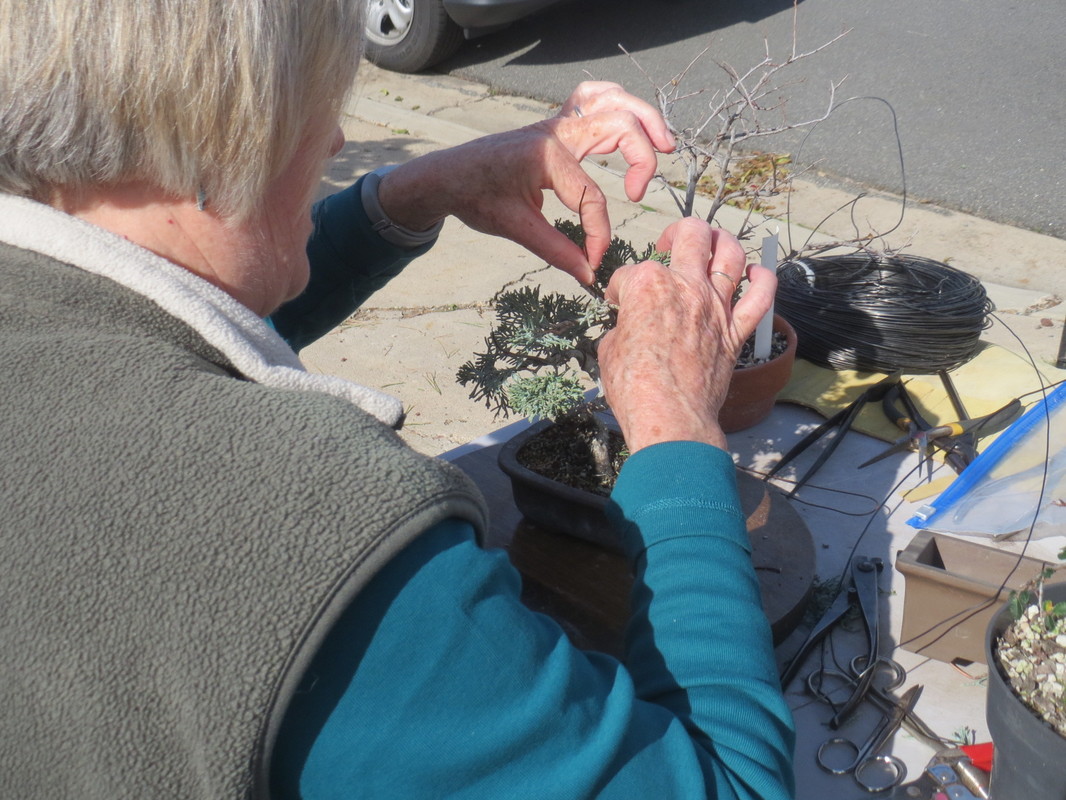
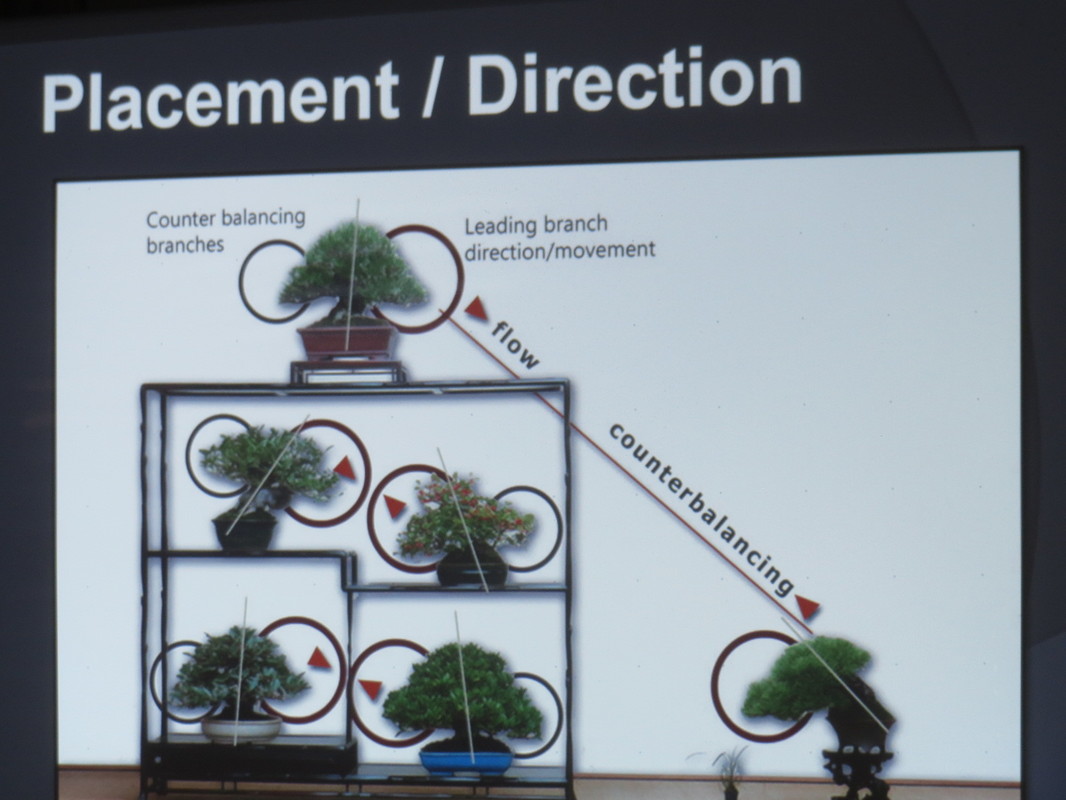
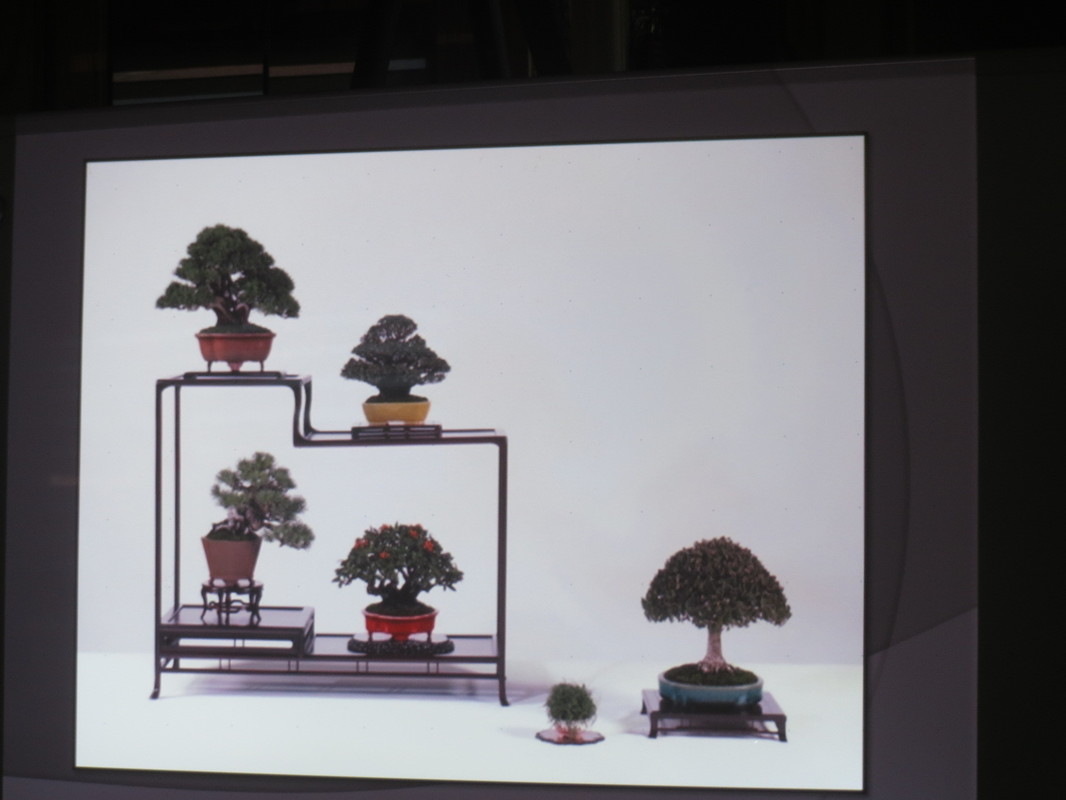
Sylvia doing some fine wiring on a tiny Kishu Shimpaku about 3-4" tall. Sean gave a power point presentation on displaying shohin. This is a display showing the basic rules of display.
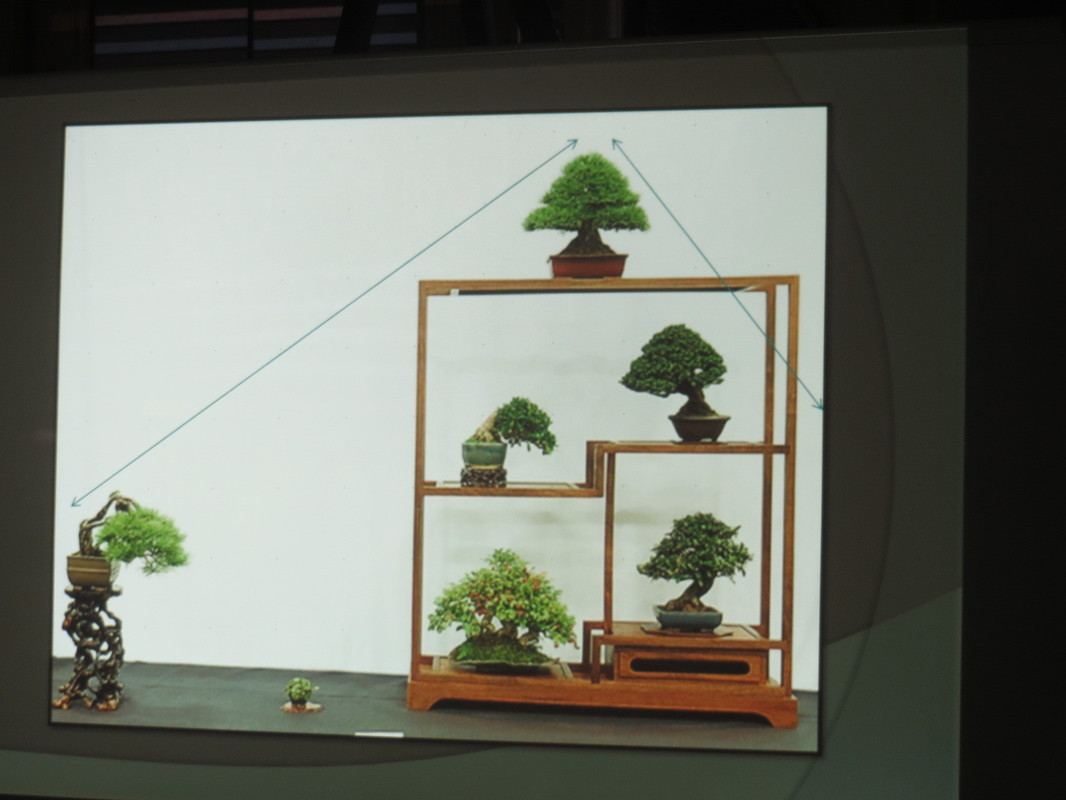
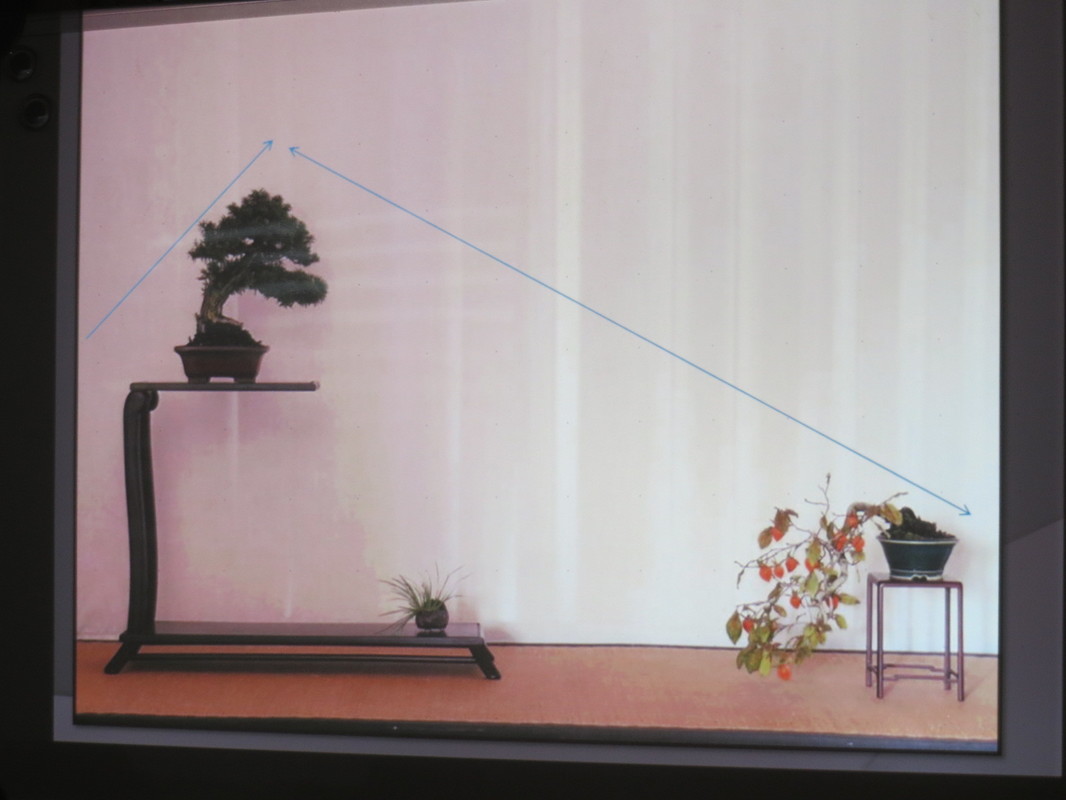
Another display following the rules of proper display. A three point display showing proper spacing and "lean" of the plants.
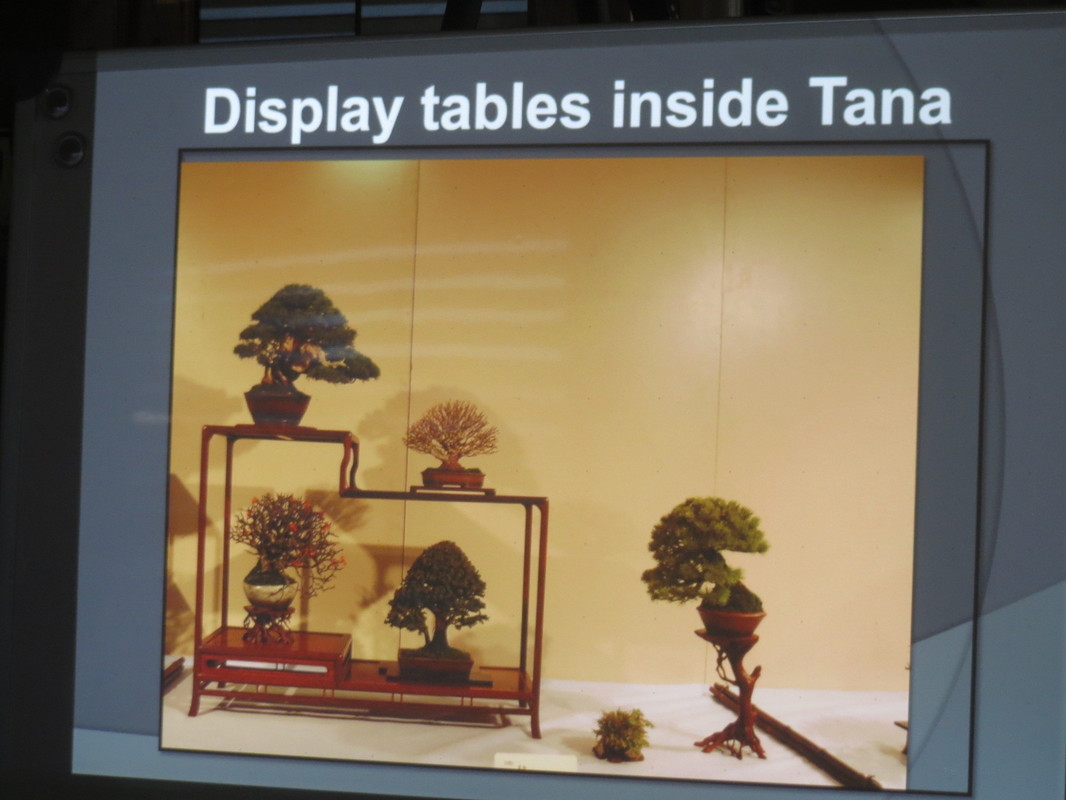
These two displays are not quite right. Left display: top tree a bit too big and leaning in the wrong direction, lack of space between the side tree/accent plant. But, that could be allotted space during the show was limited and better suited for a 3 point display. Right display has the same side tree/accent issue of lack of spacing from main display, top tree is a bit too big, the tree under the top tree is too large/too high on the stand for the space and the lower top tree is a bit too small. You can see the bamboo delineator on the right the spacing of the side tree/accent is due to allotted space. Sean made some interesting comments about displays.
Here is an interesting article by Jerry Meislik. http://www.bonsaihunk.us/Fallacies.html
|
Shohin Study GroupUpcoming Schedule
AuthorSDBC member Charlie Mosse lets you know of interesting bonsai posts from around the web but especially shohin topics as he is leading the shohin group. Shohin Racks & Stands
Archives
February 2019
Categories |
||||||||||||||||||||||||||||||||||||||||
- Home
- Activities
- Education
-
Resources
- Newsletter
- Seasonal Task Schedule >
- Club Forms
- Club Library
- Vendors
-
Photos
>
- 2020 Winter Silhouettes
- 2018 Fall Show
- 2018 SD County Fair
- Spring 2018 Show
- 2018 Cal Shohin Seminar
- GSBF Convention #40
- 2017 Fall Show
- 2017 Spring Show
- 2016 Fall Show
- 2016 Nisei Week Trip
- 2016 Spring Show
- 2016 Bonsai-A-Thon
- 2016 Winter Silhouettes
- 2015 Fall Show Photos
- 2015 Nisei Week Trip
- Bonsai Stolen from San Gabriel Nursery
- 2015 Spring Show
- 2015 Bonsai-A-Thon
- 2014 Fall Show
- 2014 Nisei Week Trip
- 2014 July Bus Trip
- 2014 Spring Show
- Articles >
- Video >
- Membership
- Safari Park Bonsai Pavilion
- Looking Back
- About
- Contact


 RSS Feed
|
Updated: April 15, 2024
All images © 2010-2023. All Rights Reserved. |
|
- Home
- Activities
- Education
-
Resources
- Newsletter
- Seasonal Task Schedule >
- Club Forms
- Club Library
- Vendors
-
Photos
>
- 2020 Winter Silhouettes
- 2018 Fall Show
- 2018 SD County Fair
- Spring 2018 Show
- 2018 Cal Shohin Seminar
- GSBF Convention #40
- 2017 Fall Show
- 2017 Spring Show
- 2016 Fall Show
- 2016 Nisei Week Trip
- 2016 Spring Show
- 2016 Bonsai-A-Thon
- 2016 Winter Silhouettes
- 2015 Fall Show Photos
- 2015 Nisei Week Trip
- Bonsai Stolen from San Gabriel Nursery
- 2015 Spring Show
- 2015 Bonsai-A-Thon
- 2014 Fall Show
- 2014 Nisei Week Trip
- 2014 July Bus Trip
- 2014 Spring Show
- Articles >
- Video >
- Membership
- Safari Park Bonsai Pavilion
- Looking Back
- About
- Contact